Follow us
How to Build a Shed: An 8-Step Overview
By Michael Franco
January 27, 2021
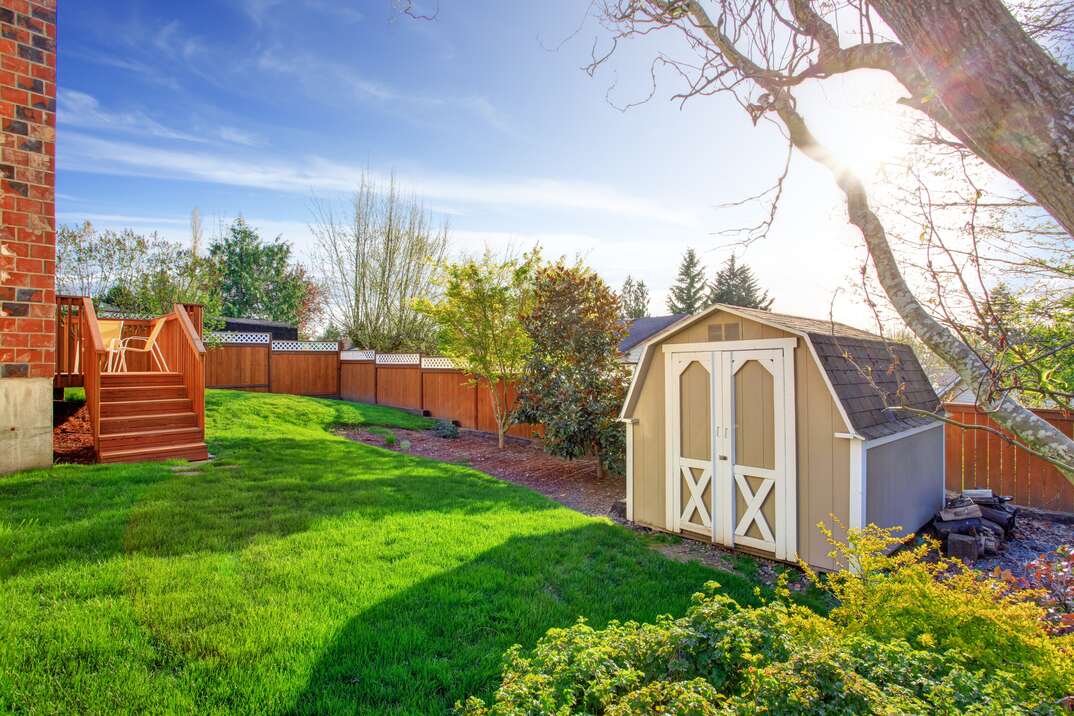
Besides giving you a safe and secure home for all of your most unwieldy outdoor equipment, backyard sheds are full of potential. Sheds can offer extra indoor workspace for multiple endeavors, or simply give you a little extra space to sit and relax, detached from the goings on of the household. Not only that, but with a little TLC a shed can upgrade the visual appeal of your backyard — and even add value to your home.
This May Also Interest You: DIY Tips for Organizing Your Garage
With all the benefits a backyard shed can offer, adding one may seem like a no-brainer. But looking at the variety of prefabricated sheds offered at big-box retailers can feel overwhelming, not to mention these store-bought sheds often can be overpriced and lacking in quality. You can build your own shed that’s both secure and aesthetically pleasing — and for much cheaper than those from a store.
Building a shed from scratch can be time consuming, but ultimately rewarding. Not only will you save money, but you can customize your shed to suit your personal needs and specifications.
Sound appealing? Consider this your guide. Here are the eight steps you’ll take as you embark on your shed-building journey:
1. Assess Your Needs
Prior to sketching plans and buying materials, it’s important to take some time to assess your needs and consider what specific purposes your shed will be serving. Will your shed simply be for storage, or do you have more ambitious ideas?
Take a moment to review your budget here, as well; decking your shed out with unnecessary features can quickly drive up your costs and turn a relatively simple project into a complicated one. While constructing a large, lavish shed can be appealing, it can quickly become a complicated project that’s beyond your skill level.
Keep in mind, as your project grows in complexity, so does the amount of permit and code requirements you’ll need to satisfy. For example, during the fitting of electric lighting, you’re required to use a legally certified electrician. You don’t want to end up with a shed that’s too small to properly store your stuff — but you also don’t want a shed so large that it engulfs your yard.
You may also want to consider one that complements the architectural style of your home. If you can’t match it exactly, try to have your shed at least match the color of your house.
Also, take a moment to assess how much time you’re able to commit to the project. As any outdoor do-it-yourselfer will tell you: Delays and unforeseen circumstances are pretty common. It’s safe to assume that building a shed will take longer than you think it will — so plan to work efficiently and to expect the unexpected.
The more planning and consideration you put in here, the more time and headaches you’ll save yourself later. What’s more, you’ll end up with a shed that you’re happy with that accommodates your storage or space needs.
2. Permits, Plans and Precautions
Before you start building, it’s always smart to check in with your local zoning authority to find out if you need any permits to build a structure on your property. Additionally, if you belong to a homeowner’s association, don’t forget to check in with them to learn about any building restrictions that may exist.
The good news, here, is that modest-sized sheds generally do not require any permit or zoning clearance so long as they’re not attached to the house and stay under specified square footage. So unless you’re planning on building the man cave or she shed of your dreams, replete with air conditioning and indoor plumbing, you’re probably in the clear. In any case, it’s always better check and make sure before beginning your project.
While you’re getting clearance from the proper authorities, go ahead and call the national “call before you dig” phone number, 811, to have a technician visit your property and mark all underground utility lines. Because you’ll be digging holes for footers, you won’t want to skip this step, as digging in the wrong spot can be both costly and dangerous.
3. Gather Tools and Materials
Building a shed from scratch is a relatively simple project that any homeowner with a little DIY experience — or a willingness to learn — can handle. While the tools and materials you’ll need will probably depend largely on type and complexity of the shed, there are a few essential tools you’ll need for most any shed-building project. Make sure you have these items on hand before you begin your project:
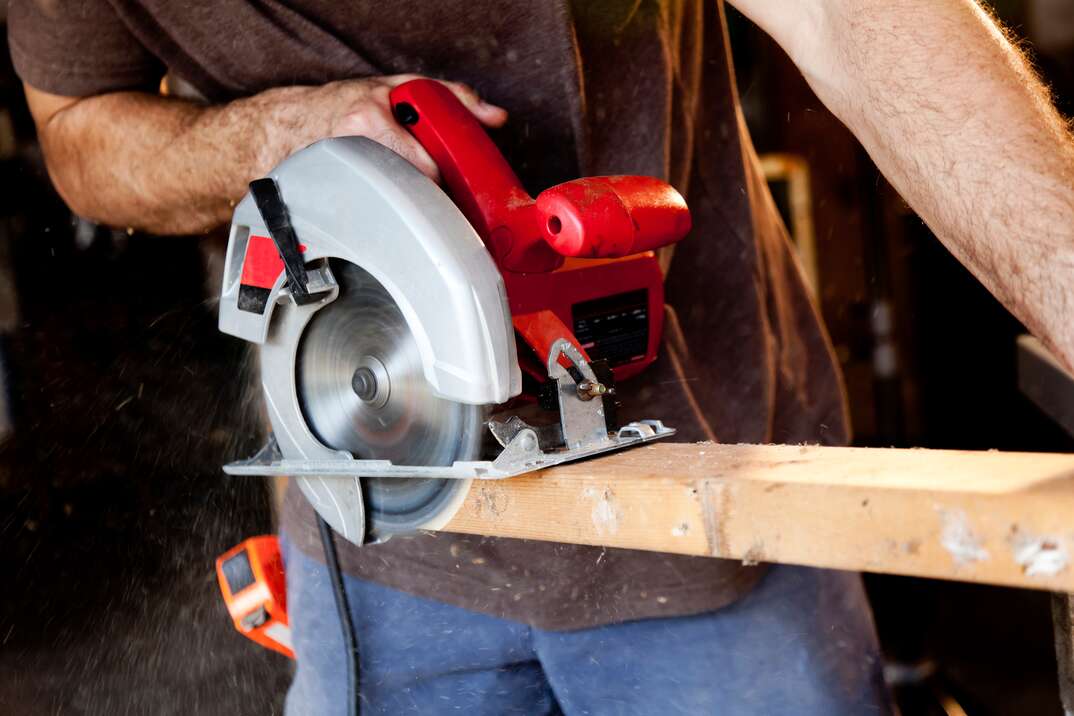
Circular Saw
Because you’ll need to cut a fair amount of wood both quickly and accurately, a circular saw is one of best options. If you don’t already own one, circular saws can be purchased at most any hardware store or big box retailers. You might also rent a circular saw from your local tool rental company, if you’d prefer.
Power Drill/Screwdriver
Having a power drill on hand for your project will make it easier to attach joists and posts. Using heavy-duty screws will keep your joists secure and in place during the framing process.
Portable Workbench
Another essential item is a workbench to use for sawing and preparing materials. Having a sturdy, stable surface on which to work is crucial to producing accurate and uniform cuts, and will ultimately lead to a better finished product.
Just like any DIY project, having the right tools makes the job easier and produces the best work. Invest in these essential items before you begin. If you gather your tools ahead of time, you won’t need to interrupt your project to go buy a tool. In addition to the tools mentioned above, it’s wise to have the following items on-hand for any DIY shed project: a hammer, a tape measure, a speed square, a 4-foot level and a pry bar.
4. Pick the Right Spot
It may seem simple, but finding the right spot for your shed can be trickier than it sounds. If your shed ends up in the wrong place, you could end up impacting the safety and overall functionality of your building.
As you determine the ideal location for your shed, one important note is to avoid placing it at the bottom of a hill or in any low-lying area where water collects. Because these areas often get muddy and soggy, it can lead to a host of future issues like wood rot and rusty hinges.
Additionally, you want to also make sure that your shed has access to sunshine and airflow. In other words: Don’t build your shed under too many trees or among too much shrubbery. Again, these areas tend to hold moisture — and too much of that will turn the inside of your shed into a dark, moldy netherworld. Also, building under too many trees is just asking for a fallen branch to wipe out your beautiful shed and damage your possessions inside.
5. Don’t Forget the Foundation
It’s true: A solid shed begins with a solid foundation. For most sheds, this can be as simple as concrete blocks or pressure-treated timber skids laid on the ground at perfect level. To avoid settling, make sure the ground is properly tamped and compacted. For smaller sheds, a hand-tamper will work just fine, but for larger projects you may want to consider using a large plate compactor to save time and energy. Take note: Most building inspectors require any shed over 200 square feet to have a cement-poured foundation that extends down into the frost line.
6. Frame the Floor
For an 8-foot by 8-foot shed, start by creating the outer perimeter of your floor frame:
Attach four 2-foot by 8-foot boards together to form a square that should measure 8 feet long on all sides.
Then, you can move that square to the exact spot you wish to construct your shed.
Place four concrete blocks into the inside corners of the frame and mark them by placing a wooden stake at the outside corner of each block.
Remove the blocks and then dig your footer holes; they should measure approximately 20 inches wide and be about 8 inches deep.
A shed’s floor frame includes the floor joists and perimeter band joists. It’s important to use pressure-treated lumber here due to the proximity of the frame to the ground. This can help prevent rot and damaging insects like termites. For the floor decking material, you can use any exterior-grade plywood. For extra sturdiness, consider using three-quarter-inch tongue-and-groove plywood. It costs more, but your floor will be solid.
7. Frame Your Walls
After you have your floor frame built, you can begin framing your walls:
First, measure and cut your 8-foot top and bottom plates out of two-by-fours.
Place them together and then begin to cut your studs, laying them between your top and bottom plates. (Note: When purchasing studs for your shed project, it’s crucial to choose ones that are as straight as possible; using crooked studs is a surefire way to create a wonky, uneven shed that may not be able to hold its own weight indefinitely.)
After you’ve done this, cut all of your siding material for the project. A great option for siding material is pine tongue-and-groove shiplap. It’s affordable, paintable, and light and easy to work with. Although it is possible to attach your siding to your walls before standing the walls, it’s advisable to do so after all walls are standing.
8. Raise the Roof!
Building a roof is the most difficult aspect of building a shed. Angled cuts are challenging, and going up and down a ladder all day can be extremely tiring, not to mention dangerous. To make things easier and safer, consider assembling your rafters and joists into trusses that can be set on top of the walls.
View Plans in Your Area
Follow us
Popular

Apr 26, 2021

Apr 01, 2024

Get the latest news, tips and promotional messages, including special offers.