A Grassroots Effort: How to Lay Sod in 4 Steps
Ah, the American lawn. A healthy, well-maintained lawn is truly an extension of your home — and a particular point of pride for many homeowners. Not only can lawns look great, but they're a perfect place for you and your family to play, relax or hang out with friends. By increasing your livable space and so-called curb appeal, a thriving lawn can boost your property value. It can even improve your health: Studies repeatedly report that green spaces are essential to our physical and mental well-being.
This May Also Interest You: Basic Lawn Care and Maintenace Tips
Without a doubt, the quickest and easiest way to establish a thriving, green lawn is to lay sod. Sod is pre-grown grass that’s farmed and maintained for roughly a year before being cut and removed from the sod farm in such a way that preserves a layer of its soil and roots. It’s then cut into 8-square-foot portions and rolled up. Imagine a rug made of grass and soil, and you can accurately picture a roll of sod.
At its core, DIY sod installation is as easy as it sounds. You simply lay the roll of sod on top of the soil and, after a few days, the grass will take root and it’s a done deal. However, it’s important to consider a few important details to ensure your do-it-yourself sod grass installation goes off without a hitch. By learning how to lay sod down, you can have a healthy, beautiful lawn in a matter of weeks — all while avoiding obvious seams or dead patches.
1. Determine Your Needs
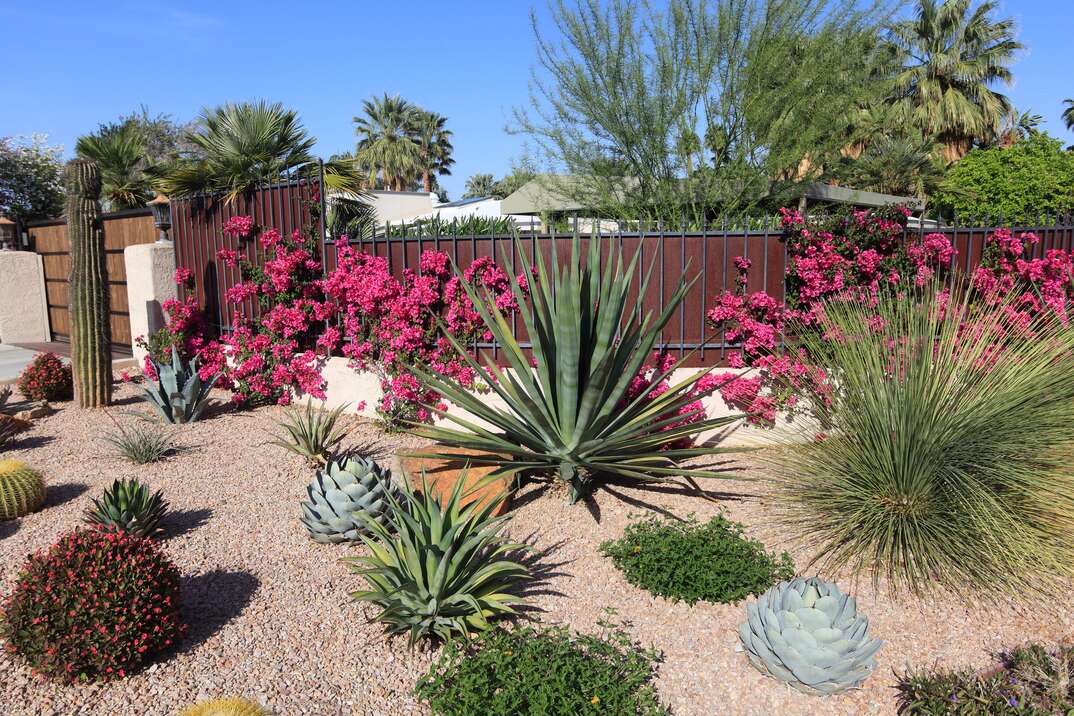
One of the most important aspects to any DIY sod installation is to determine what type of sod, and how much of it, you’ll need for your project. There are actually many different popular varieties of grass that vary greatly with climate, shade and resilience. For example, cool-season grasses, like ryegrass, are better suited to withstand colder temperatures and are commonly found in the Northern United States. In contrast, warm-season grasses, like bermuda, can withstand hot summers and are found in lawns across the South.
You’ll also want to consider how much direct sunlight your lawn receives. For example, grasses like zoysia, do well in the shade and don’t thrive in full sunlight. Meanwhile, fescue can withstand heavy sunlight and even drought-like conditions.
2. Measure It Out
Buying the correct amount of sod is also a crucial early step prior to planting. Obviously, you’ll want enough to cover your lawn, but you don’t want too much surplus. Depending on the type of grass, sod can be expensive, and buying too much can quickly eat into your budget.
Start by calculating the square footage of your yard. Calculating square footage can be done by multiplying its length by its width. While that can be fairly straightforward if your yard is square or rectangular, it can get quite complicated if you’re working with an unusual shape. In that case, you might want to try using an online lawn area calculator. Once you get the square footage calculated, you’ll want to purchase a slightly larger amount to account for any mistakes or calculation errors. Many professional sod installers recommend buying 5% over the amount you determine you’ll need.
3. Prepare the Soil
As you begin your new sod installation, it’s essential to have properly prepared soil beneath it. The first step in this process is to make sure that the top 6 to 8 inches of soil has been adequately loosened. That means removing all existing grass and roots, and breaking up compacted soil using a shovel or a mattock. Depending on the size of your lawn, you may want to use a rototiller for this step. If you don’t own a rototiller, you can always choose to rent one from a local equipment rental company for a reasonable rate.
After the soil is sufficiently loosened, now’s the time to add at least 2 inches of finished compost to it. You can purchase compost from most local garden supply centers or, if your municipality offers it, you might have access to some for free at your local compost center. If you can’t acquire any compost, you can also use leaf mold, or peat moss. If your soil seems rather heavy or dense, you may want to consider adding sand or clay to improve oxygenation and drainage. Once you’ve added your amendments, use a rake or shovel and level the area by pushing down any high spots and spreading soil to lower spots.
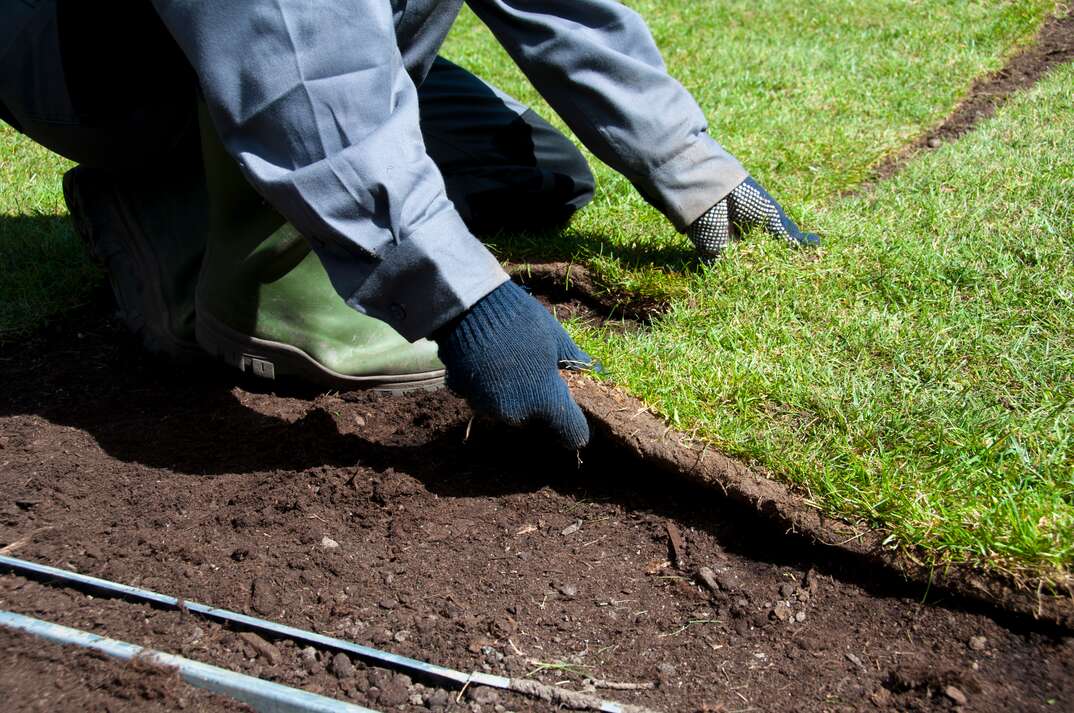
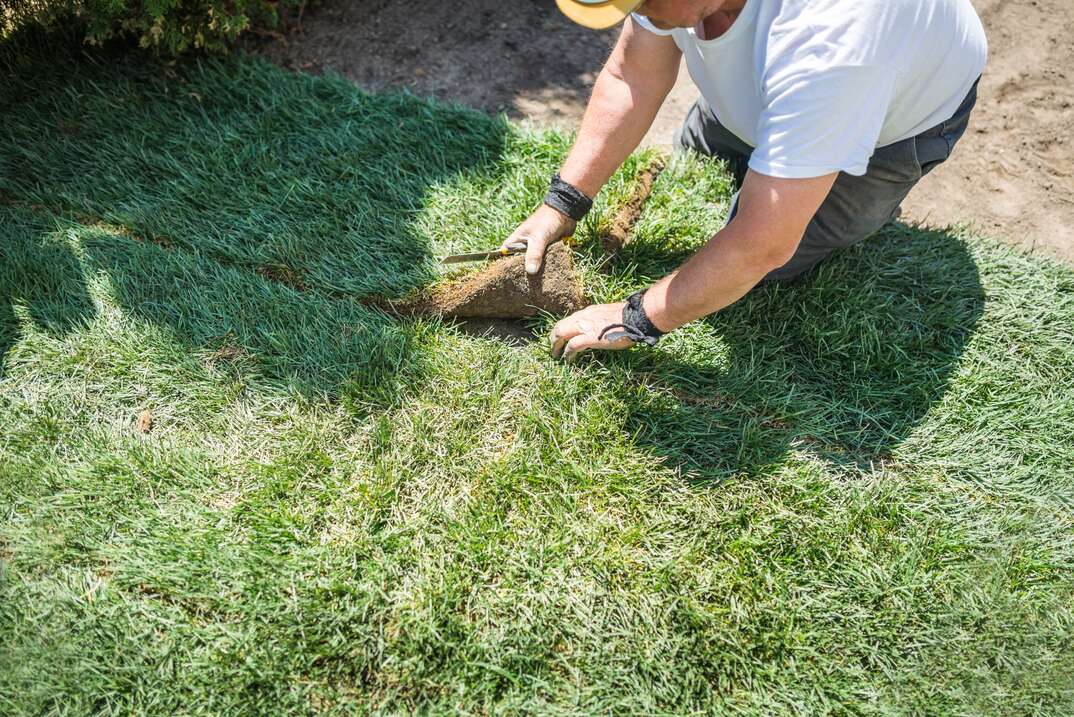
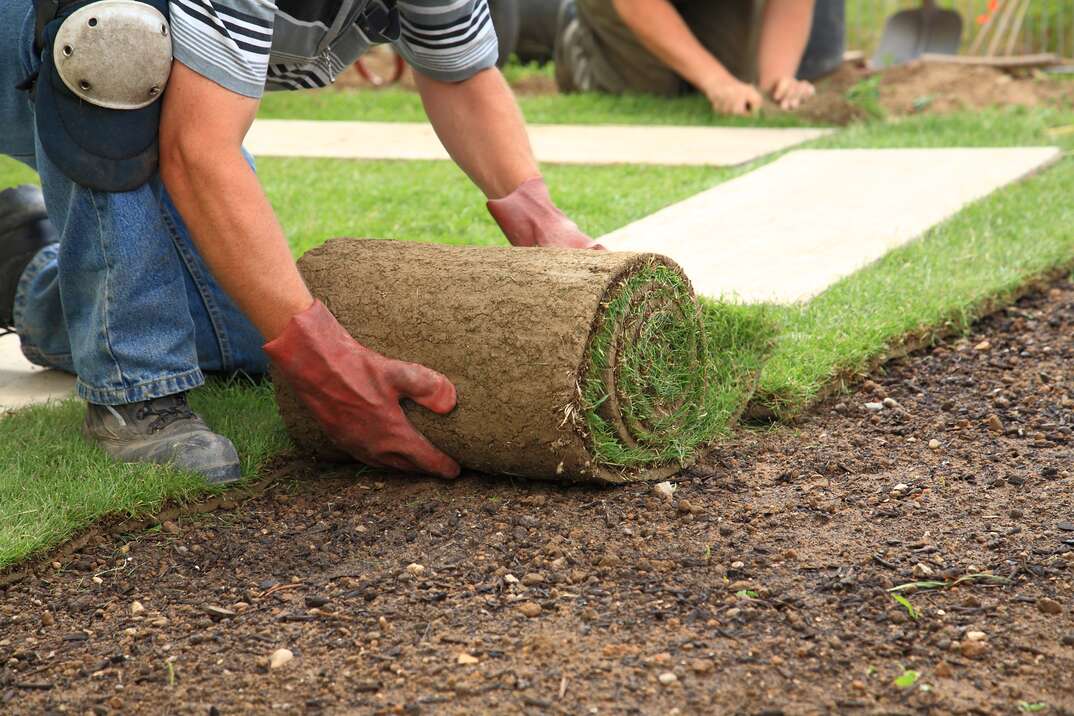
4. Lay Down the Sod
Once you’ve adequately prepped the soil, you’re now ready to lay the rolls of sod down. New sod installation requires a sod knife, or any sharp knife with at least a 2-inch blade. You’ll need this to cut through the rolls of sod you intend to lay.
The first line of sod should be the longest, straightest line available in the yard. For many yards, this is the fence line, but it could also be a line near the driveway or road. Carefully unroll the sod and flatten it out as you go, removing any potential for air pockets or wrinkles. Lay out the consecutive rolls next to the first one, making sure they touch but don’t overlap. You’ll want to make sure the rolls are staggered for a smoother finish, so the next rows will be cut in half using your sod knife.
After laying all of your sod, you’ll need to take care to add plenty of water each day to help settle the soil and encourage root growth. During this time, make sure the lawn receives very little foot traffic, if any at all. After the first week, you can start watering every other day. Then, like any other lawn, you’ll need to ensure it gets an inch of water every week.
Enjoy the Benefits of Healthy Lawn
Maintaining a thriving lawn has numerous benefits, from increasing your home's aesthetic quality to improving your mental and physical well-being. Lawns can improve the quality of your life and add to the value of your home. By laying sod on an unkempt, patchy yard, or a barren stretch of outdoor space, you can easily transform your property into a lovely, outdoor oasis.
Upgrading your yard is also a great time to consider upgrading your home's coverage by being prepared with a plan from HomeServe. Once you have one in place and a covered issue arises, you can simply call the 24/7 repair hotline. A local, licensed and highly trained contractor will be sent out to you to get the job done to your satisfaction. Learn more about plans from HomeServe today.